Tire Maintenance & Safety
Best price guarantee
Tire replacement coverage
24/7 roadside assistance
Easy returns

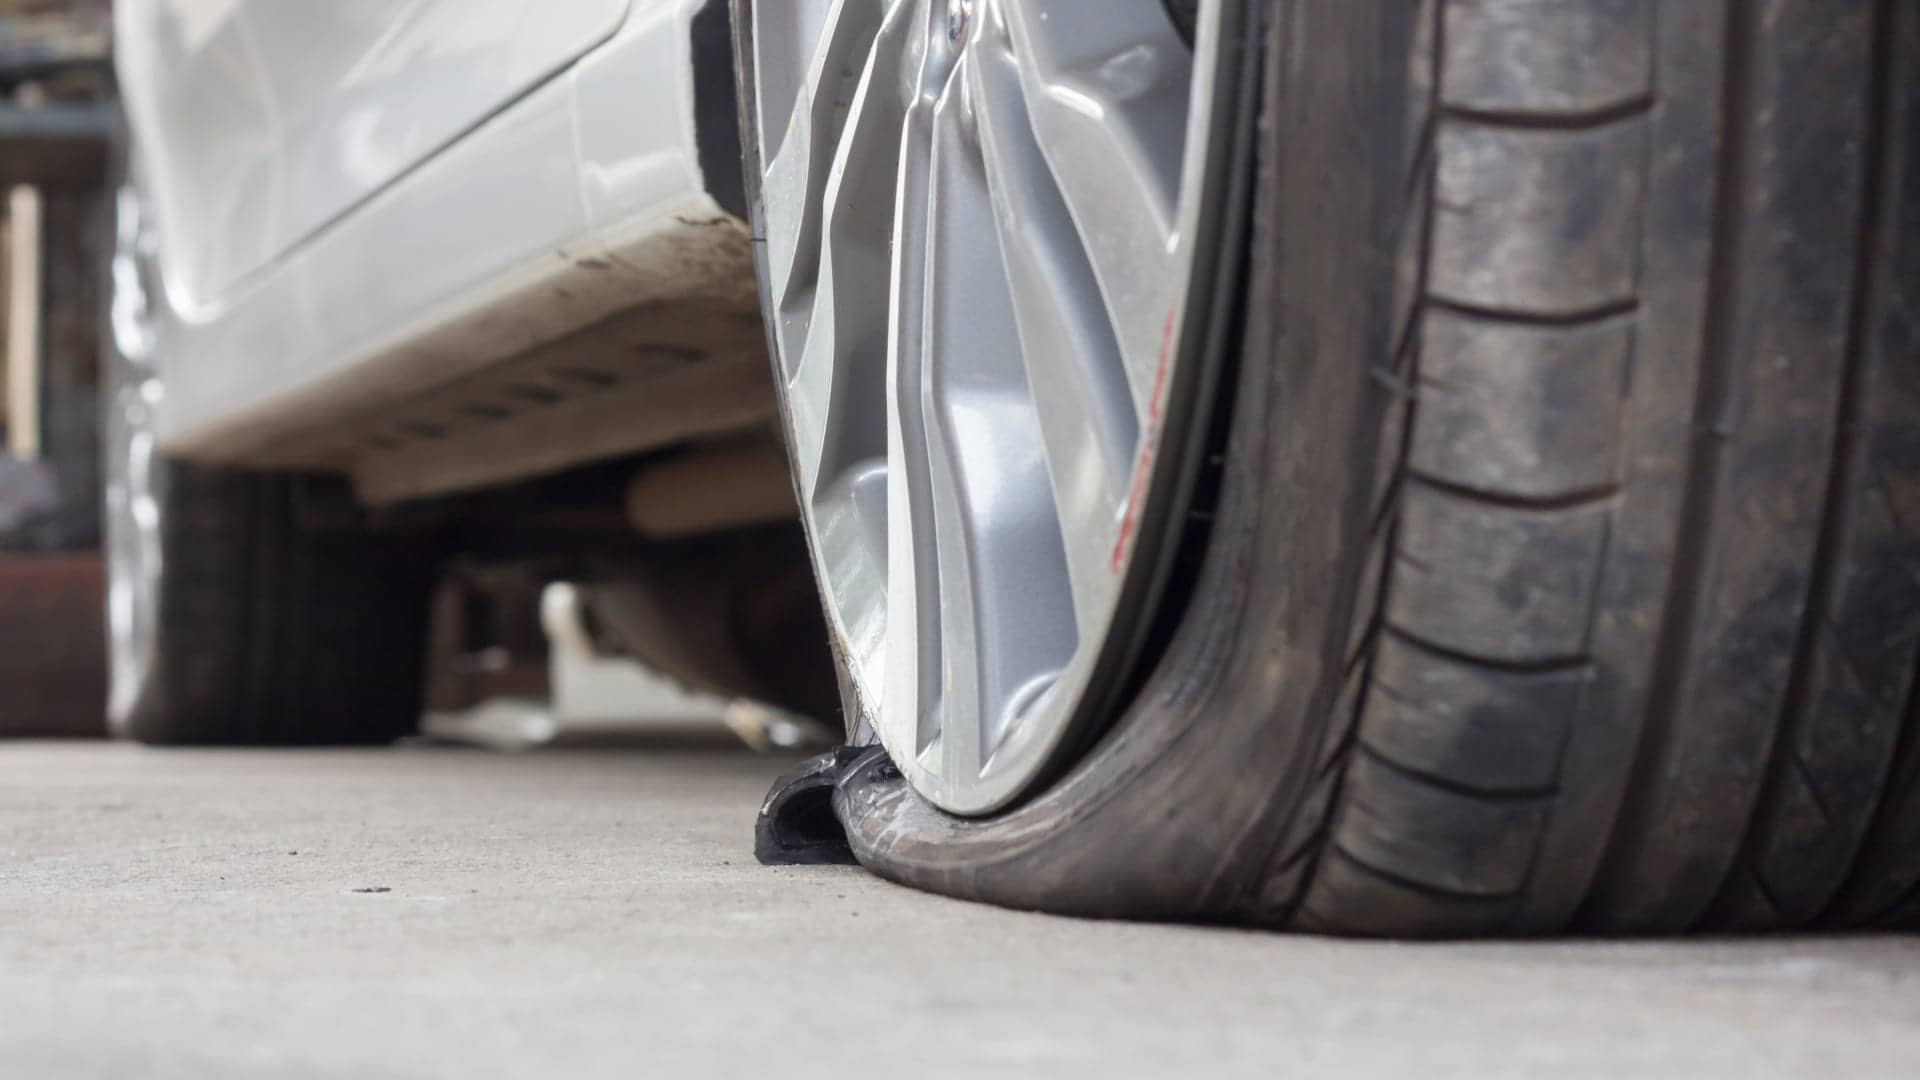
A flat tire can happen when you least expect it, turning an ordinary drive into a stressful situation. While calling for roadside assistance is always an option, knowing how to change a tire can save time, money, and frustration. More importantly, it gives you the confidence and independence to handle an unexpected roadside emergency with ease.
Having the right tools and a basic understanding of the process makes changing a tire a simple and manageable task rather than a daunting challenge. Whether you're on a busy highway or a quiet back road, being prepared ensures you won’t be left stranded.
In this guide, we'll walk you through the steps of changing a tire, explain why it's an essential skill for every driver, and share tips to make the process safer and easier. By the end, you'll be ready to handle a flat tire situation quickly and with confidence.
Why Knowing How to Change a Flat Tire Matters
Knowing how to change a flat tire is more than just a useful skill—it’s an essential part of being a confident and prepared driver. Picture yourself on a quiet road at night when you suddenly feel the unmistakable thump of a flat tire. Without the ability to fix it yourself, you’re left waiting, hoping for assistance to arrive.
Being able to change a tire on your own not only saves you valuable time but also gives you peace of mind. It means you’re not completely dependent on roadside assistance, which might not always be readily available. Instead of feeling helpless, you’ll have the ability to get back on the road quickly and safely.
Beyond convenience, changing a tire yourself can also save you money. Towing services and roadside assistance calls can be costly, especially if you’re in a remote location. By handling the fix on your own, you can avoid unnecessary expenses and put those savings toward regular tire maintenance—helping to extend the lifespan of your tires and improve your overall driving experience.
How to Change a Flat Tire: Step-by-Step Guide
Being able to change a flat tire gives you the confidence and self-reliance to handle unexpected situations on the road. The process is straightforward when you have the right tools and know what to do. Before you find yourself in need, take a moment to ensure you have the essentials: a reliable jack, a sturdy lug wrench, and a properly inflated spare tire. Keeping these items organized and easily accessible in your vehicle can make all the difference when a flat tire happens. With the right preparation, you’ll be ready to tackle the task smoothly and safely.
Essential Tools and Preparation

Being prepared before a flat tire happens can make all the difference. Regularly check your spare tire to ensure it’s properly inflated and ready for use when needed. Take a moment to familiarize yourself with the tools in your vehicle, including the jack for lifting your car and the lug wrench for loosening and tightening lug nuts. Using these tools in a safe setting, like your driveway, can build your confidence so that if a flat tire happens on the road, you'll be ready to handle it quickly and safely.
Finding a Safe Location and Getting Started
When you realize you have a flat tire, your priority should be safety. Slowly steer your vehicle to a stable, level surface away from traffic, such as a parking lot or the shoulder of a road. Turn on your hazard lights to signal other drivers that you’re stopped. Once parked, gather your tools and take a deep breath—changing a tire is a straightforward process when done carefully.
Before lifting the vehicle, use the lug wrench to slightly loosen the nuts. This step ensures they’re easier to remove once the car is off the ground while preventing the wheel from spinning. Remember to position the jack correctly according to your owner’s manual—placing it in the wrong spot can cause damage or instability. Taking these precautions will help make the process smoother and safer.
Changing the Tire
Once the vehicle is safely raised, carefully remove the loosened lug nuts and set them aside securely to avoid losing them. Gently remove the flat tire and align the spare with the wheel bolts, easing it onto the hub. This step is key to ensuring a proper fit and smooth installation.
Begin securing the spare tire by hand-tightening the lug nuts. Then, slowly lower the car just enough for the tire to make firm contact with the ground without carrying the vehicle’s full weight. Using the lug wrench, tighten the lug nuts in a crisscross or star pattern—this helps distribute pressure evenly and prevents misalignment. Finally, lower the vehicle and remove the jack, ensuring the new tire is firmly in place and ready for the road.
Final Checks and Safe Driving Considerations
Before hitting the road, take a moment to check the spare tire’s air pressure to ensure it’s properly inflated for safe driving. Remember that most spare tires are designed for temporary use and may not offer the same handling or durability as a regular tire. Drive cautiously, avoiding high speeds and sudden maneuvers, and plan to visit a tire service center as soon as possible to replace or repair your original tire. Taking these precautions ensures you stay safe and prepared for the road ahead.
Step 1: Find a Safe Location
When you have a flat tire, focus on finding a safe place to pull over. Look for a level, stable area like a parking lot or a wide shoulder, where you’ll have enough space to work without the risk of passing traffic. Stability is key, as changing a tire on uneven ground can be dangerous.
Once you’ve stopped, turn on your hazard lights to alert other drivers to your situation, improving visibility and safety. If possible, position your vehicle so it’s easily seen by oncoming traffic. Before leaving, engage the parking brake to keep the car from rolling, giving you a secure and stable setup to change the tire.
Step 2: Gather Your Tools
Once you've safely parked, it's time to collect everything you'll need for the tire change. Locate your spare tire, jack, and lug wrench—these are typically stored in the trunk, under the vehicle, or in a designated compartment. Knowing where your tools are ahead of time can save valuable minutes during an emergency.
Check Your Equipment
Before you begin, take a moment to inspect your tools. Make sure the jack is in working order and can lift the vehicle smoothly. Ensure the lug wrench fits your lug nuts properly and isn't worn down. A quick check now can prevent unexpected difficulties later.
Set Up for a Smooth Process
Arrange your tools within easy reach. Position the jack near its designated lift point as outlined in your vehicle’s manual. Keep the lug wrench and spare tire close by, so you’re ready to move quickly once the car is lifted. Organizing your workspace in advance makes the process safer and more efficient.
Step 3: Loosen the Lug Nuts
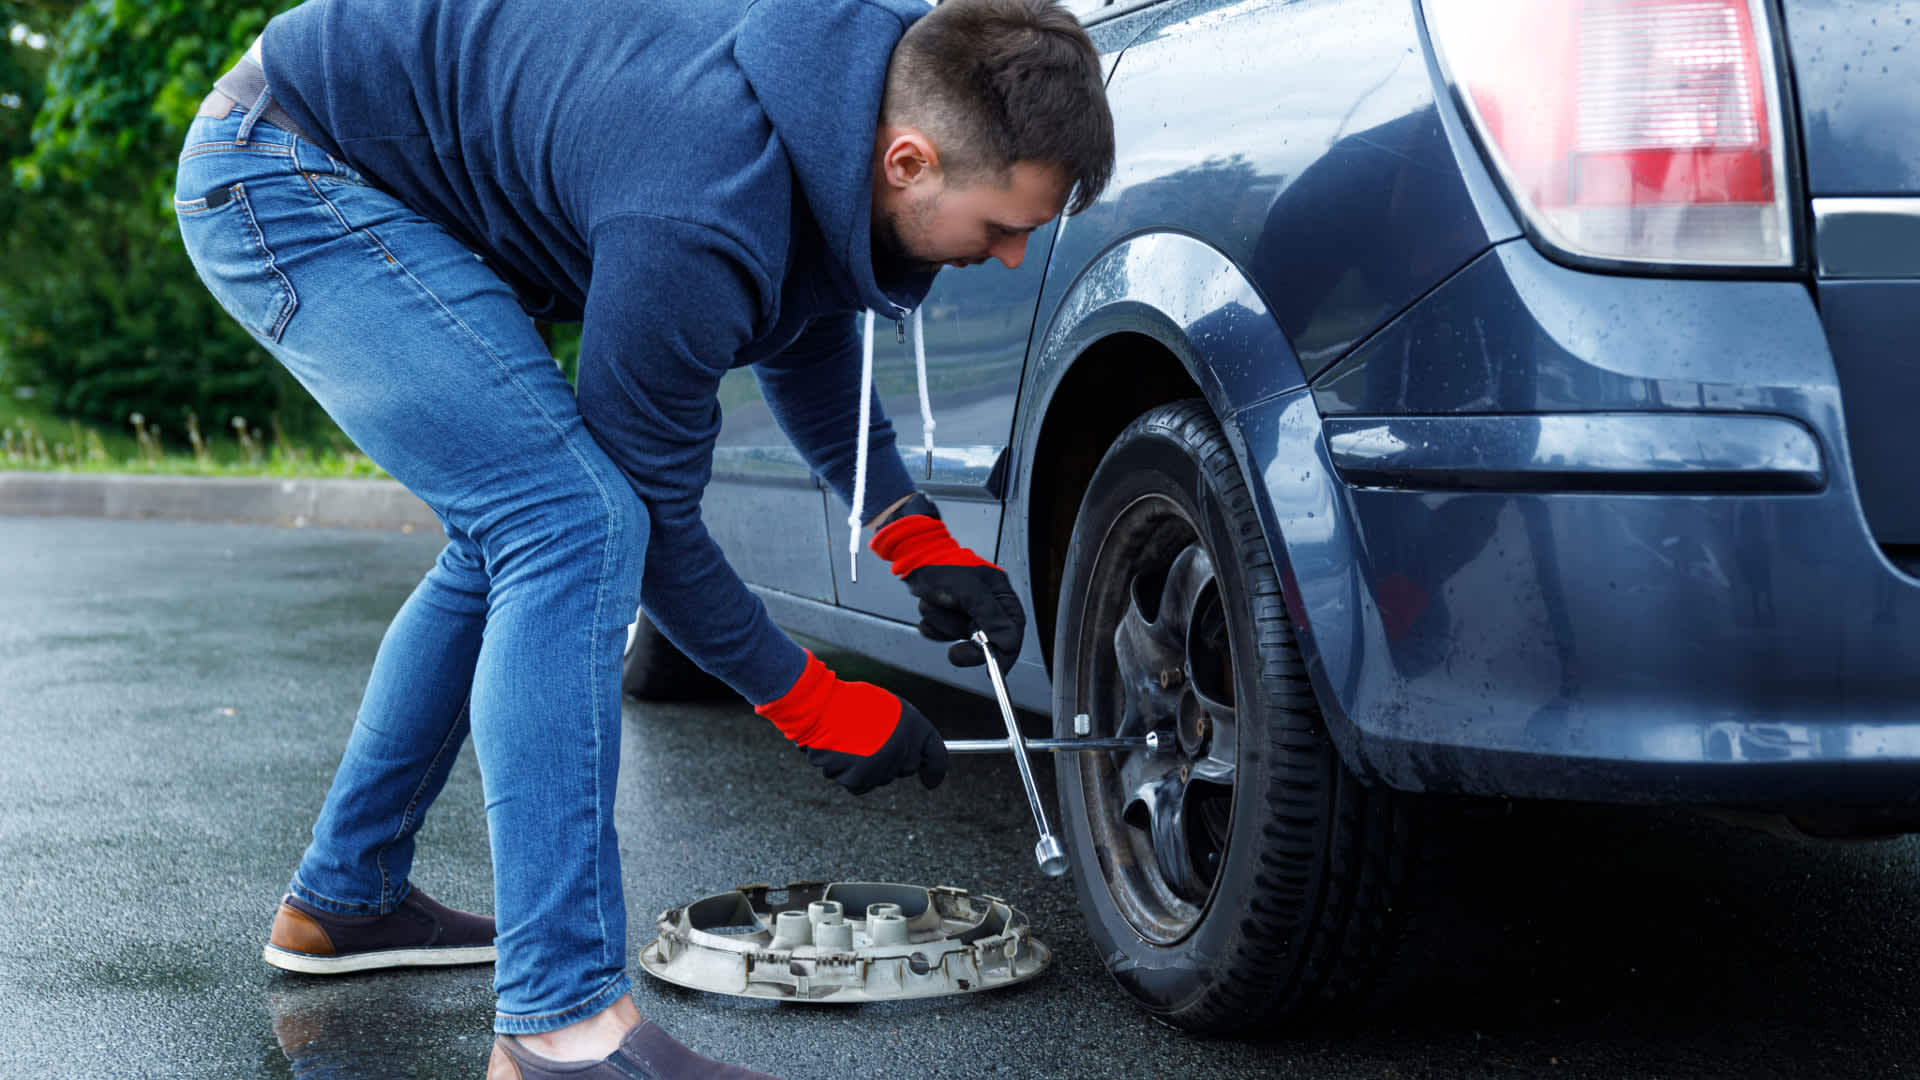
Before lifting your vehicle, it’s crucial to loosen the lug nuts while the tire is still firmly on the ground. This stability makes it easier—and safer—to apply the pressure needed to break them loose. Place the lug wrench securely over each lug nut and turn counterclockwise with steady force. Since lug nuts are usually tightened to keep the wheel secure during everyday driving, they can be tough to budge at first.
Helpful Tip for Stuck Lug Nuts: If you're having trouble loosening them, don’t worry—it’s common. You can use a breaker bar or even gently step on the wrench (with caution) to gain extra leverage. Just be sure to maintain control to avoid injury or damaging the nuts.
Once each lug nut has been loosened (just a turn or two, not fully removed), you’re ready to jack up the vehicle. This small but important step makes the rest of the tire change much smoother and helps prevent issues once the tire is off the ground.
Step 4: Use the Jack to Lift the Car

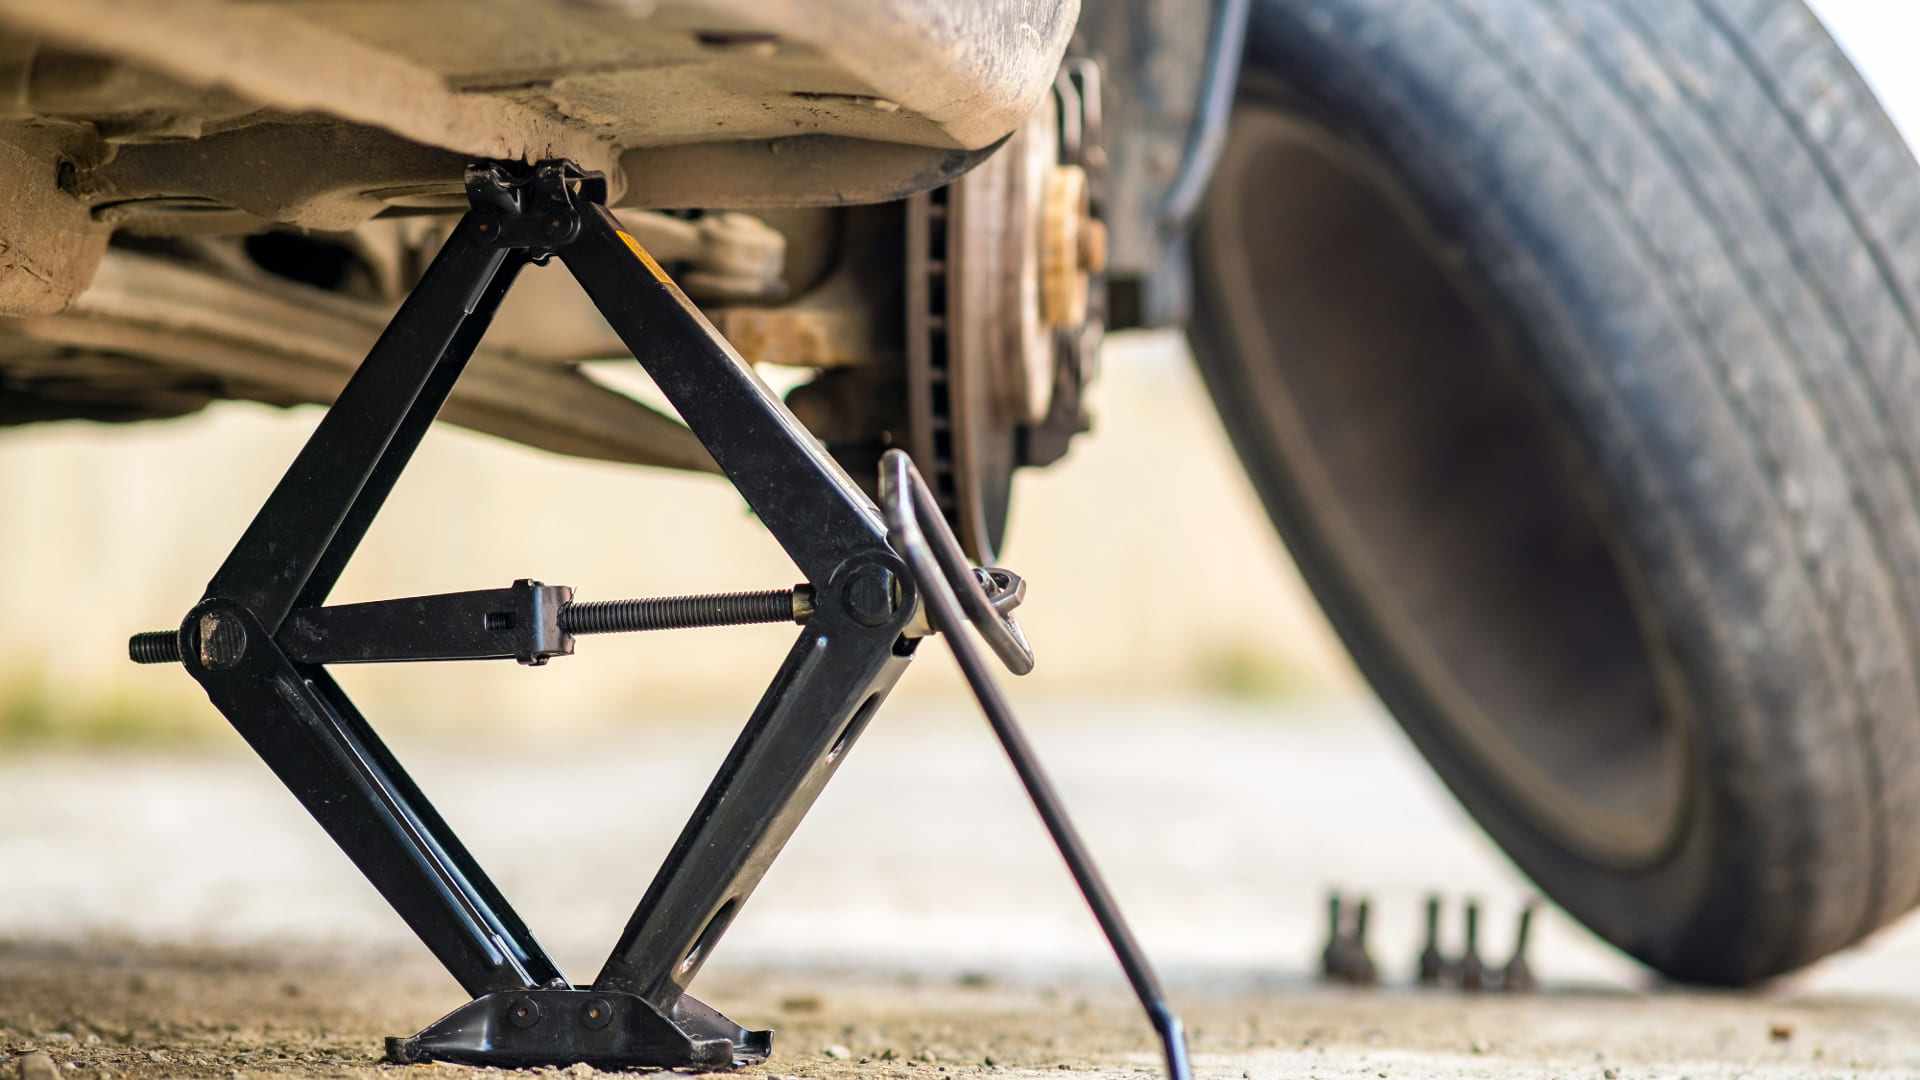
Lifting your vehicle safely starts with proper jack placement. Look for the designated jacking points—usually along the vehicle’s frame behind the front wheels or in front of the rear wheels. These reinforced spots are designed to support the car’s weight without causing damage, and you can find their exact locations in your owner’s manual. Getting this part right sets the stage for a safe and steady tire change.
Tips for Safe Lifting: Once the jack is in position, raise the car slowly using steady, even motions. Watch closely for any signs of shifting or wobbling. If anything feels unstable, lower the car and reposition the jack. It’s worth taking the extra time to get it right rather than risking your safety.
How high to go? Lift the vehicle just enough so the flat tire is completely off the ground. Avoid cranking the jack too far—only raise it to the point where you have enough room to easily remove and replace the tire. Once the car is securely elevated and stable, you’re ready to move on with confidence.
Step 5: Remove the Flat Tire
Once your vehicle is safely elevated, you can go ahead and remove the flat tire. Start by unscrewing the lug nuts the rest of the way, turning them counterclockwise until they come off completely. Keep them together in a small container or set them down somewhere secure so they don’t get lost—having them organized now makes reattaching the new tire much easier.
To take off the flat tire, grip it firmly on both sides and pull it straight toward you. If it feels stuck (which can happen after being mounted for a while), try gently rocking it back and forth to loosen it from the hub. Be sure to protect your hands from any sharp edges or road grime—gloves can be especially helpful here.
Once the tire is off, stand it upright on its tread and place it out of the way, somewhere stable so it won’t roll. Keeping your workspace tidy and safe makes installing the spare that much smoother. Now you’re ready to move on to getting your vehicle back on the road.
Step 6: Install the Spare Tire
Start by carefully sliding the spare tire onto the hub, making sure the wheel bolts line up with the holes in the rim. Taking a moment to align everything properly ensures the tire will sit flush and balanced against the vehicle. Don’t rush this step—adjust as needed until the tire fits evenly into place.
Once the spare is positioned correctly, secure it by placing each lug nut onto the bolts and turning them clockwise by hand. This helps avoid cross-threading and ensures the nuts are going on smoothly. Hand-tightening each one gives you a good foundation before you use your tools to fully secure them.
Next, grab your lug wrench and begin tightening the nuts in a star or crisscross pattern. This technique distributes pressure evenly across the wheel, helping to prevent any wobbling or warping. Once each lug nut is firmly in place, give them one final check to make sure they’re snug. With the spare tire now properly installed, you’re almost ready to hit the road again.
Step 7: Lower the Car and Tighten Lug Nuts
With the spare tire in place, gently lower the vehicle until the tire touches the ground and begins to support the car’s weight. Take your time using the jack—lower it slowly and steadily to ensure the vehicle settles safely and remains stable.
Secure the Lug Nuts Evenly
Now that the car is resting on the spare, it’s time to fully tighten the lug nuts. Use your lug wrench and work in a star or crisscross pattern to apply even pressure. This step is important because it helps the wheel sit flush against the hub, preventing future vibrations or uneven wear.
Do a Final Check
Once all the lug nuts are tightened, remove the jack completely and double-check each nut to make sure it’s snug but not overtightened. Give each one a firm tug with the wrench to confirm. Finally, pack away your tools and the flat tire, and you’re ready to hit the road again—safe, secure, and prepared for your next stop.
Step 8: Ensure Proper Spare Tire Installation
Once the spare tire is securely installed, take a moment to make sure it’s actually road-ready. Use a tire pressure gauge to check that it’s properly inflated, matching the psi listed in your vehicle’s manual. This step is easy to overlook but incredibly important—driving on an underinflated spare can affect your car’s handling, reduce fuel efficiency, and even cause further tire damage. A quick pressure check now helps ensure a safer, smoother ride until you can get a permanent replacement.
Checking the Spare and Moving Forward
Before hitting the road, give your spare tire a quick but thorough once-over. Look for any obvious damage like cuts, cracks, or bulges, and make sure the tread has enough depth to grip the road—especially in slick or rainy conditions. Even though it's just a temporary fix, the spare needs to be in good shape to get you safely to your next stop.
Once you’re back behind the wheel, drive cautiously. Spare tires aren’t made for speed or long distances, so keep your pace moderate and head straight to a tire shop to get your original tire repaired or replaced. Taking care of it sooner rather than later keeps your vehicle running at its best.
Changing a flat might feel intimidating at first, but with the right prep and tools, it’s a challenge you can absolutely handle. Keep your spare tire in good condition and ready to go—it’s your backup when the unexpected happens. And when it’s time to shop for new tires, we’ve got you covered with top deals and plenty of options to fit your vehicle and your budget.
Ready to find the perfect tires?
Search By